HomeBlogHome Decor IdeasWhere to Hang Curtain Rods: the Ultimate Designer’s Guide You’ll Use Forever
Where to Hang Curtain Rods: the Ultimate Designer’s Guide You’ll Use Forever
You can buy the dreamiest curtains on the planet, but if the rod height is off by even a few inches? The whole room looks… meh. The good news: hanging curtain rods like a designer is 90% knowing the rules and 10% ignoring them with confidence. Let’s get your windows looking tall, tailored, and expensive (without, you know, being expensive).
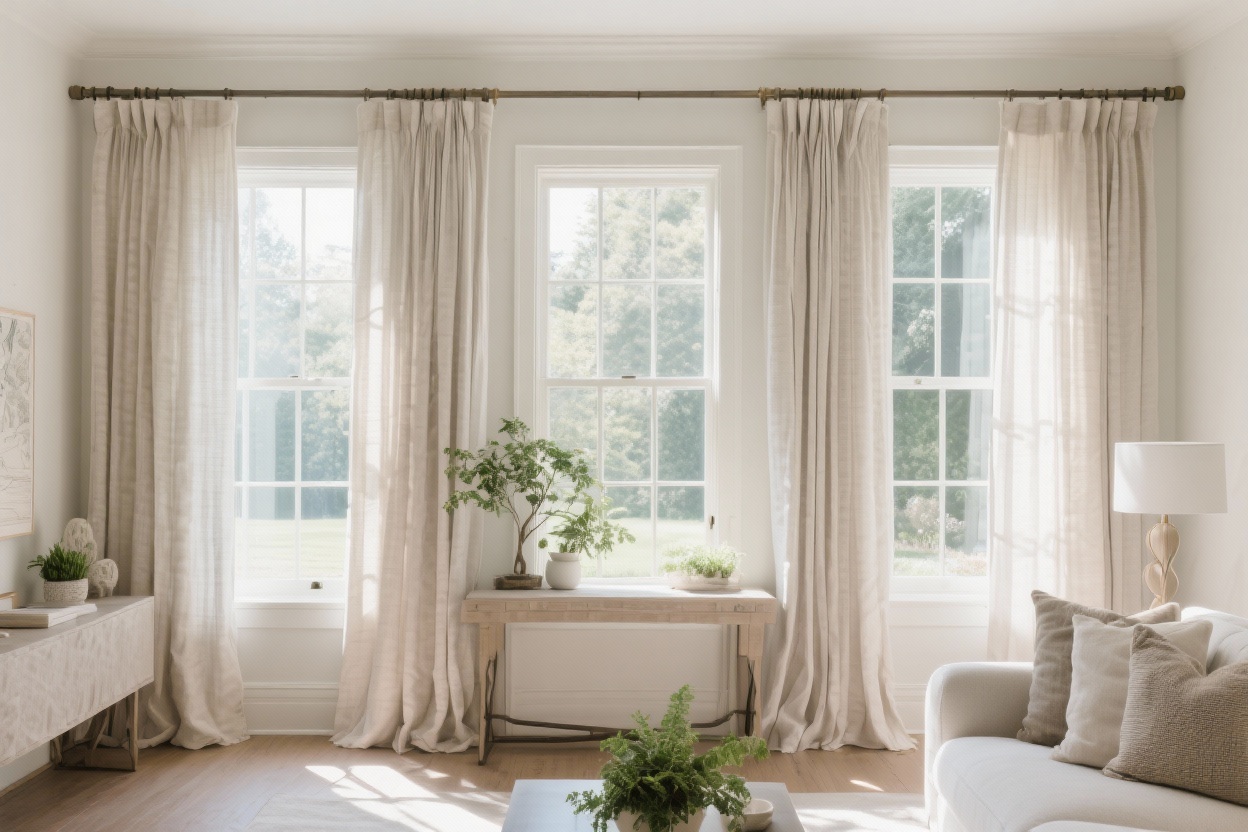
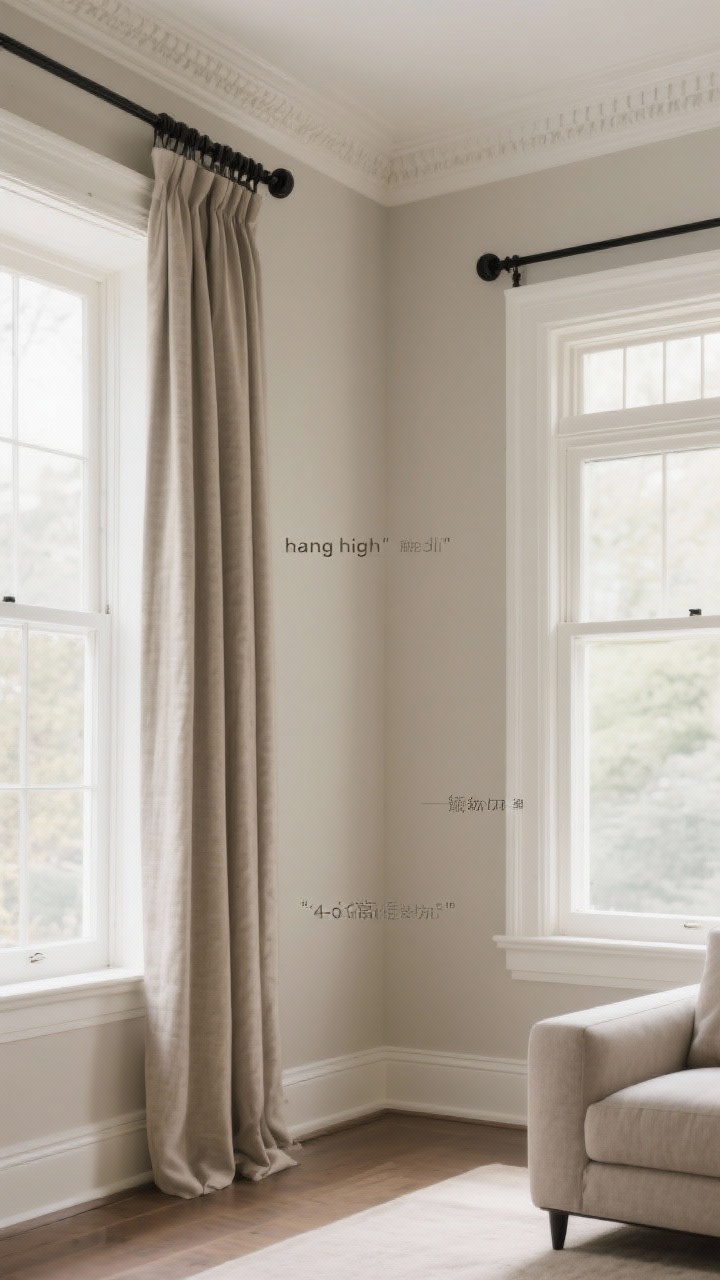
1. Hang High, Look Luxe: The Golden Height Rules
Want your room to feel taller instantly? Raise the rod. The higher your rod, the longer the line for the eye—aka instant “architectural” drama.
Designer move: Midway between the top of the trim and the ceiling.
Ultra-luxe trick: Mount just below the ceiling (or crown molding) for floor-to-ceiling drama.
Have low ceilings? Don’t be shy—going higher actually helps. Tall ceilings? You can still go near the ceiling, but keep proportions in check so the curtain length doesn’t look skimpy.
Special Cases
Windows with transoms: Place the rod above the transom, not between window and transom. It keeps the whole look cohesive.
Cathedral ceilings: Align to a visual “line” such as door headers nearby, or float at about 8–10 inches above the window trim to avoid the rod feeling lost.
Basement windows: Still go higher than the trim, but balance with full-length panels to elongate the wall (FYI: yes, full-length works even for short windows).
Bottom line: To make a room feel taller, mount higher than you think. Your future self will thank you.
2. Go Wide Or Go Home: Extending Beyond The Frame
Most people mount rods just wider than the window. Cute, but it steals your daylight. The pro move? Extend the rod past the frame so your curtains stack off the glass.
Standard extension: 4–6 inches beyond each side of the window trim.
Designer extension: 8–12 inches per side for maximum light and a grander look.
Small windows: Widen even more to visually “grow” the window. Yes, it works.
By extending the rod, your panels hang mostly on the wall, not over the glass. Result: more light, bigger window energy, and a custom vibe.
Tricky Layouts
Corner windows: Use corner connectors to create an L-shaped rod. Keep rods at the same height across both windows.
Windows tight to walls: Choose rods with shorter finials or even end caps so you can still extend a few inches.
Bay windows: Use a bay rod set with adjustable angles. Keep the line clean by matching the projection and height on all segments.
Pro tip: If privacy isn’t a big concern, treat panels as decorative and stack them entirely off the glass. It’s a daylight dream.
3. Length, Puddles, And The “Kiss”: Getting The Hem Right
Let’s talk curtain lengths. You’ve got options, and each sets a different mood. No one wants high-water hems unless it’s intentional café style (which is a whole vibe on its own).
The Three Go-To Looks
Just kissing the floor: The hem gently touches the floor—no break, no gap. Polished, hotel-chic, low maintenance.
Floating: Panels hang about 1/2–1 inch above the floor. Crisp and super practical for high-traffic areas.
Puddled: Add 2–6 inches to the length for a romantic, traditional look. Best on heavier fabrics (think linen or velvet) and in rooms where a little drama won’t get stepped on.
Most designers default to the kiss. It’s forgiving across home styles and looks custom—without the tripping hazard.
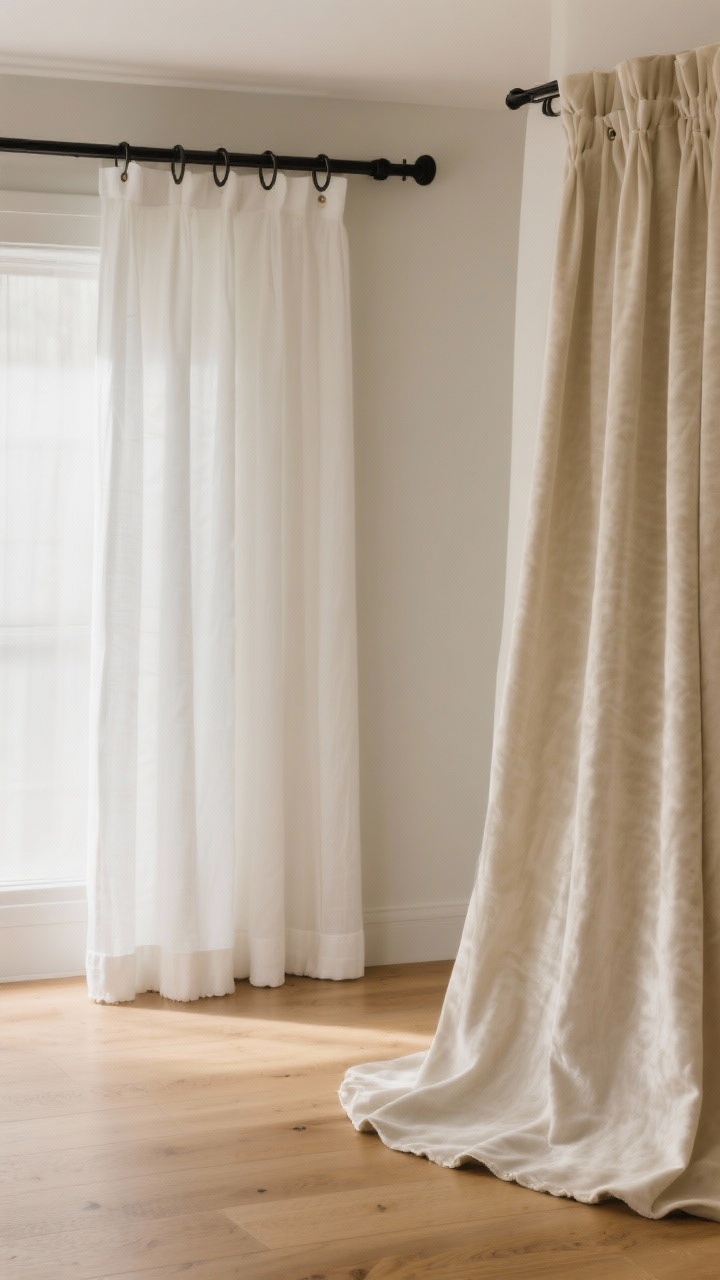
Hardware And Header Matter
Rings and clips: Add 1–2 inches to total drop, depending on the ring size. Measure from top of rod to the floor, then account for header style.
Grommet panels: Measure from the top of rod.
Rod pocket or back tabs: They can shorten the visible length; do a test hang if possible.
FYI: If your floor isn’t perfectly level (most aren’t), aim for “float” or “kiss” and be ready to hem slightly for each panel so lines look even.
4. Real-Life Rooms: The Right Rod Placement For Every Situation
Design rules are great. But every window throws a curve ball. Here’s how to nail rod placement in spaces you actually live in.
Living Rooms With Tall Ceilings
Mount high—within 2–4 inches of the ceiling or crown for drama.
Use wide rods so panels stack fully off the glass.
Opt for wraparound rods so panels curve back to the wall, minimizing glow.
Pair blackout liners with a sheer underlayer. Sleep like royalty.
Small Apartments
Use ceiling-mount tracks to elongate walls and keep profiles slim.
Choose light fabrics and extend rods wide to maximize daylight.
Color-match rods to the wall for a seamless, modern look.
Kids’ Rooms And High-Traffic Areas
Stick to the float hem so panels don’t drag or trap dust.
Go for sturdy brackets and secure anchors (safety first, IMO).
Consider cordless shades under drapes for easy daily use.
Over Radiators Or Baseboard Heaters
Mount higher and choose shorter café-length panels, or switch to Roman shades.
Keep fabric clear of heat sources to protect fibers and finish.
French Doors And Sliding Doors
Use a long, continuous rod that extends well past the opening so panels stack to one or both sides.
Try traverse rods or pinch-pleat panels on rings for smooth sliding.
Keep the bottom just kissing the floor for clean movement.
Tricky Trim And No-Trim Windows
Thick crown/trim: Mount the rod just below crown, even if that’s more than 6 inches above the window.
No trim: Create your own “frame” with high-and-wide placement. Choose rods with substantial brackets for a finished look.
Pro move: Always check light switches, vents, and art before drilling. It’s not a vibe to discover a thermostat sitting behind your new panel.
5. Hardware, Brackets, And Balance: The Details That Make It Designer
Great rod placement isn’t just about height and width. The hardware carries the look. Think of it like jewelry—get the scale right and everything feels intentional.
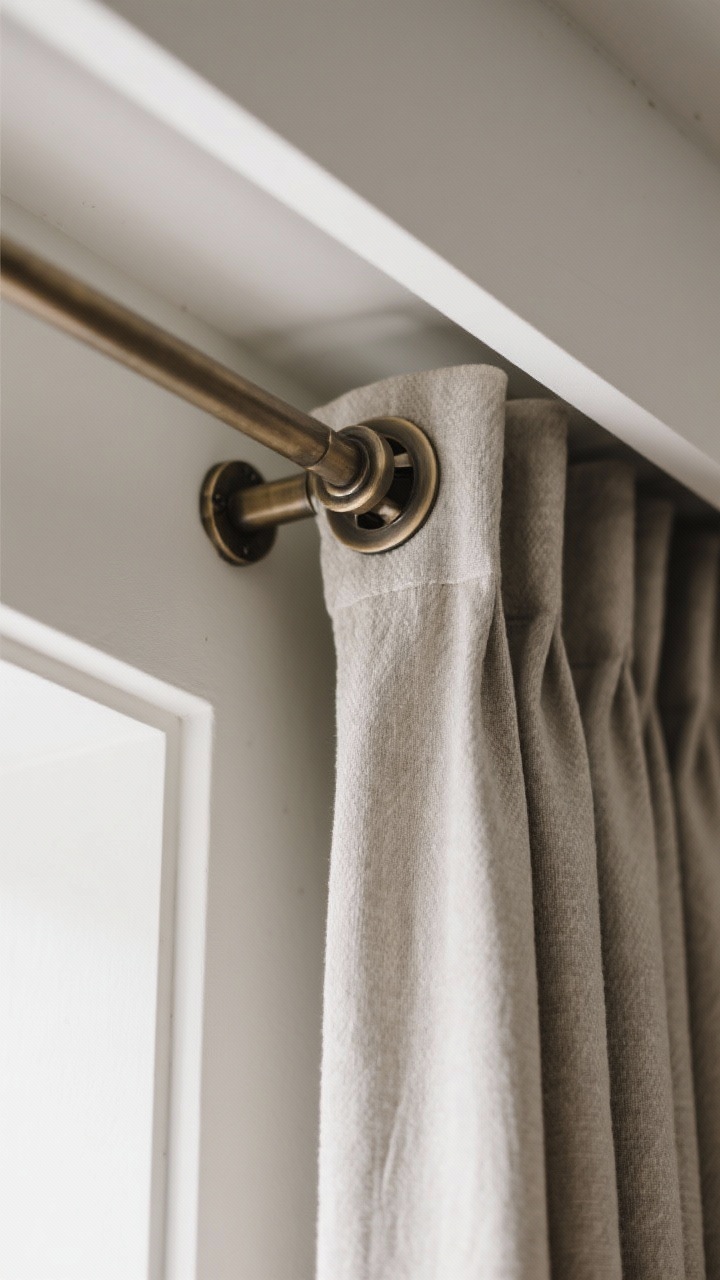
Choosing The Right Rod
Diameter matters: 1–1.25 inches works for most windows. Go thicker (1.5–2 inches) for wide spans or heavy drapes.
Finish: Match to existing metals (black, brass, nickel), or contrast for a modern statement. Keep it consistent across the room.
Finials: If space is tight, use end caps. For a statement, choose sculptural or faceted finials.
Bracket Placement And Support
Bracket spacing: Place brackets 4–6 inches from each rod end.
Center support: Anything over 72–84 inches usually needs a center bracket.
Studs vs. drywall: Into studs if you can. If not, use heavy-duty anchors rated for your fabric weight.
Projection And Stack Depth
Standard projection: 3–4 inches keeps panels from rubbing trim.
Layered look: Use double rods or return rods that wrap to the wall to control light gaps.
Fullness: Order panels at 2x–2.5x the window width for luxe gathers (less for grommets; more for pinch pleats).
Measuring Cheat Sheet
Width to order: Window width + 8–24 inches (4–12 per side) depending on stack preference.
Height to install: Decide hem style first (float, kiss, puddle), then measure from floor up to rod position.
Mark before drilling: Tape the outline, step back 10 feet, and confirm the lines look level and balanced.
FYI: Level is queen. Trust your level more than your eyeballs—walls and ceilings lie.
Common Mistakes To Avoid
Hanging too low: It shrinks the room. Go higher.
Not going wide enough: You’ll block light and make windows look stingy.
Skimpy fullness: Flat panels look sad. Aim for at least 1.5x width, preferably 2x.
Ignoring doors, vents, and outlets: Plan placements so panels don’t fight with functionality.
Bonus styling: Steam or press panels after hanging. Train pleats by gently folding and tying with soft ribbons for a day or two—hello, custom look.
There you go—your crash course in “curtain rods, but make it designer.” Hang them high and wide, choose the right length, and don’t skimp on hardware. With a level, a tape measure, and a little confidence, your windows will look taller, your rooms brighter, and your home way more polished. Now go stun those walls (and your guests).


Leave a comment