Try These 5 Freezer Organization Hacks for Instant Extra Space
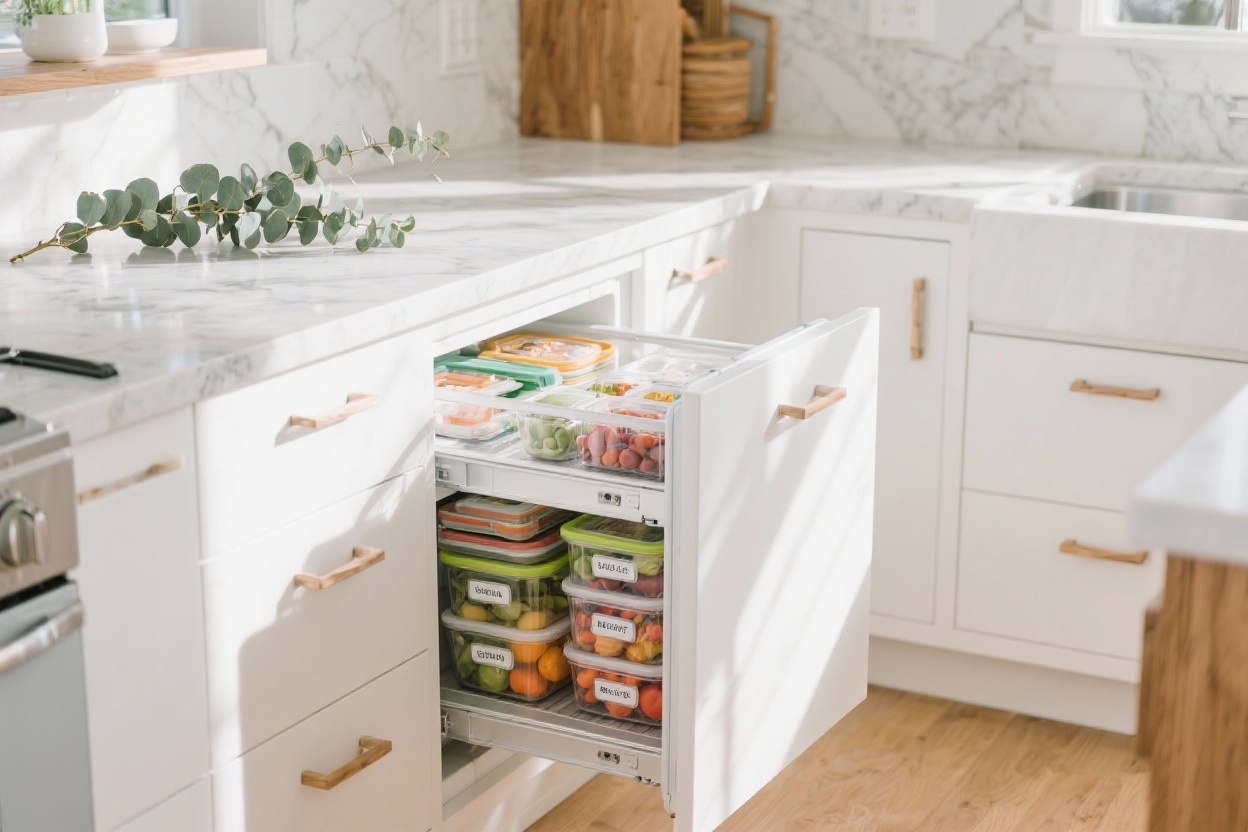
If your freezer feels like a frosty black hole where good food goes to disappear, you’re not alone. The good news? A few smart tweaks can open up more space than you think without buying a new appliance or tossing half your groceries. These five freezer organization hacks are fast, foolproof, and instantly transform the way you store your food.
1. Start With A Clean Slate (Yes, You Have To Empty It)
Don’t roll your eyes—this is the fastest way to win. Pull everything out. Toss anything with freezer burn, mystery frost, or a date from another decade. If you can’t remember what it is, it’s gone. Your future self will thank you.
Quick Clean, Big Payoff
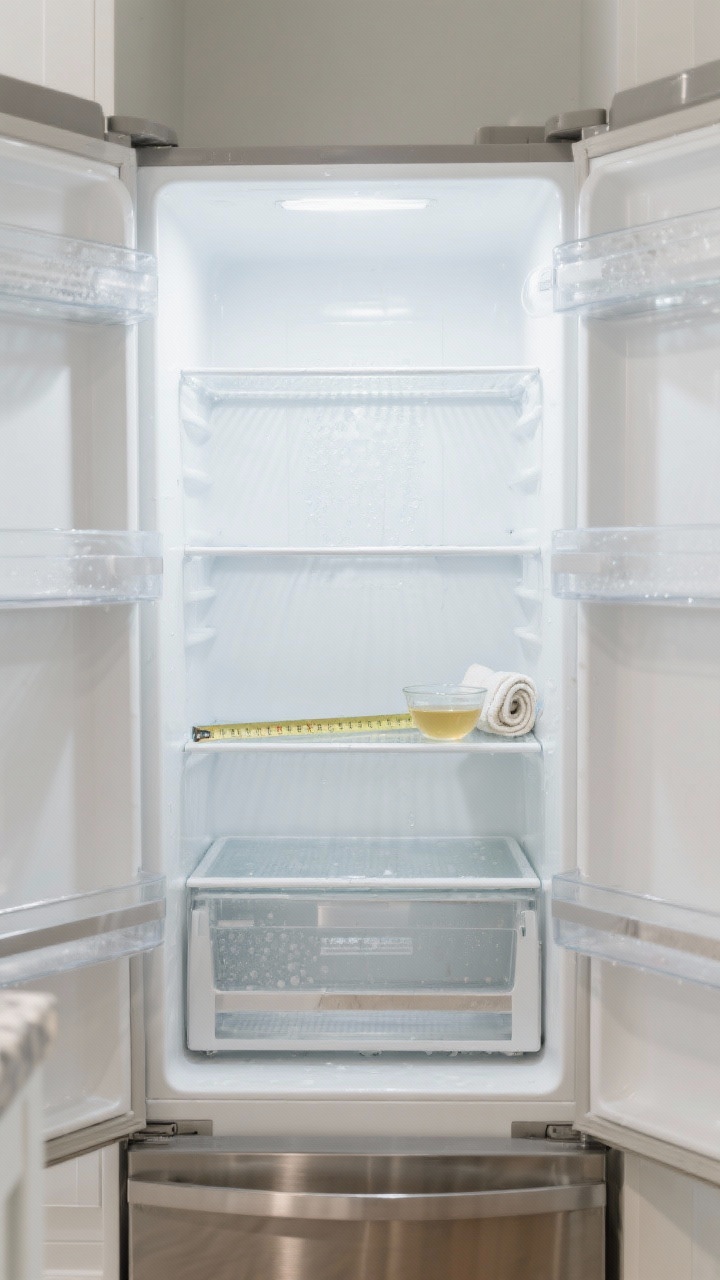
Unplug (if needed) and remove drawers and shelves.
Wipe with warm water + a splash of vinegar. Dry completely—ice is the enemy of organization.
Line shelves with thin, washable mats to catch drips and crumbs. Easy cleanup = long-term success.
Now measure your shelves and drawers. Measure before you buy bins—trust me, eyeballing leads to heartbreak and returns.
2. Zone Like A Grocery Store (So Your Brain Can Chill)
Your freezer needs zones the way your closet needs sections. When everything has a home, nothing gets lost behind the frozen waffles.
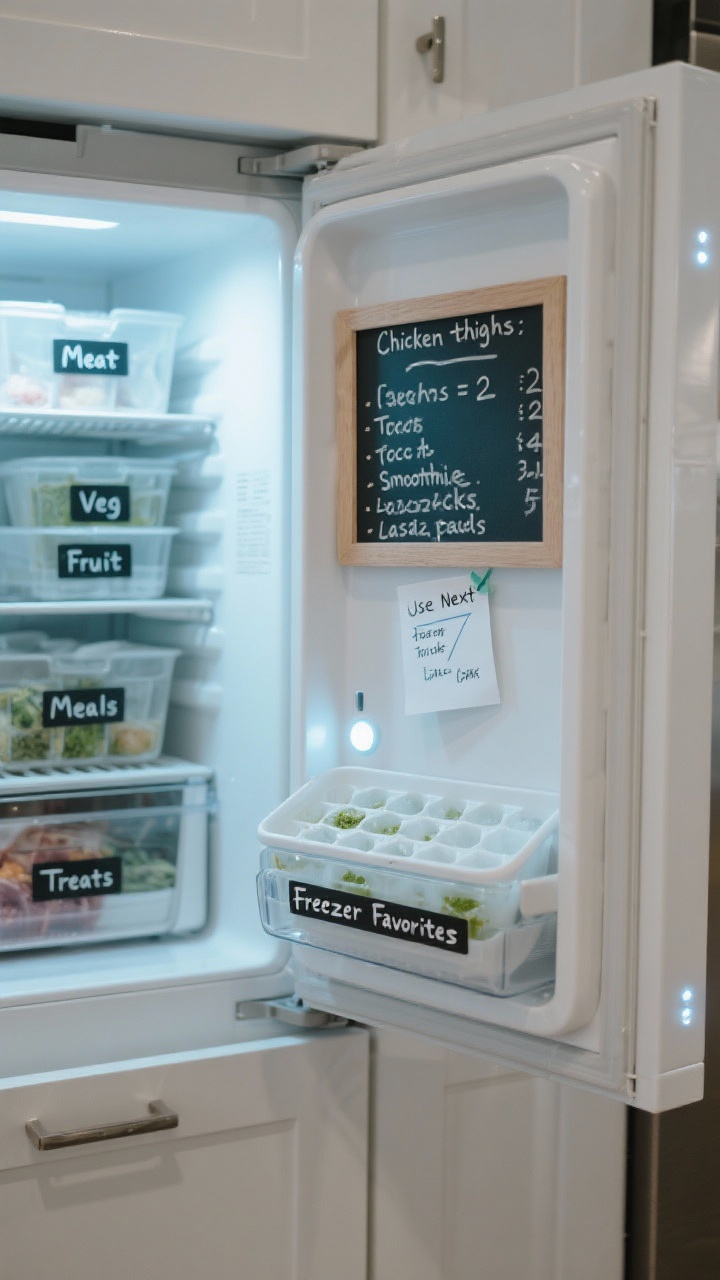
Set Up Smart Zones
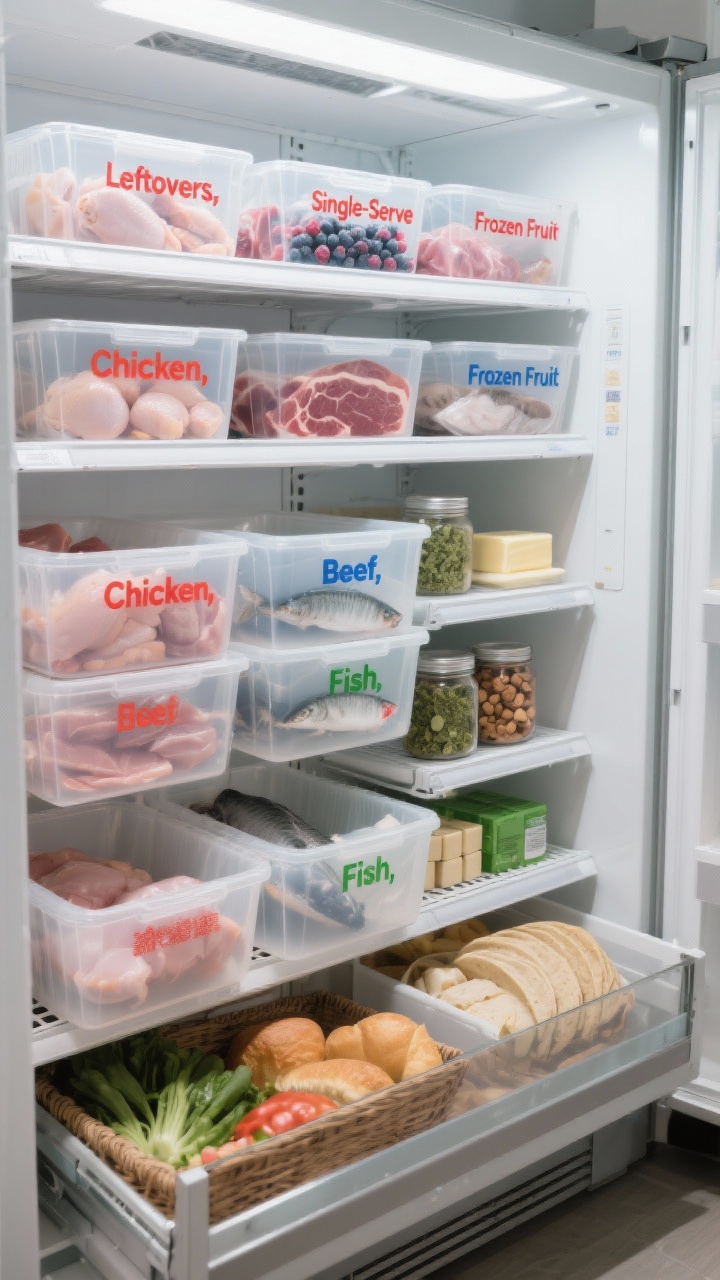
Top Shelf: Ready-to-eat stuff—leftovers, single-serve meals, frozen fruit.
Middle Shelf: Proteins—chicken, beef, fish. Keep raw stuff away from ready-to-eat.
Drawer/Basket: Bulk or family-size items—veggies, bread, frozen snacks.
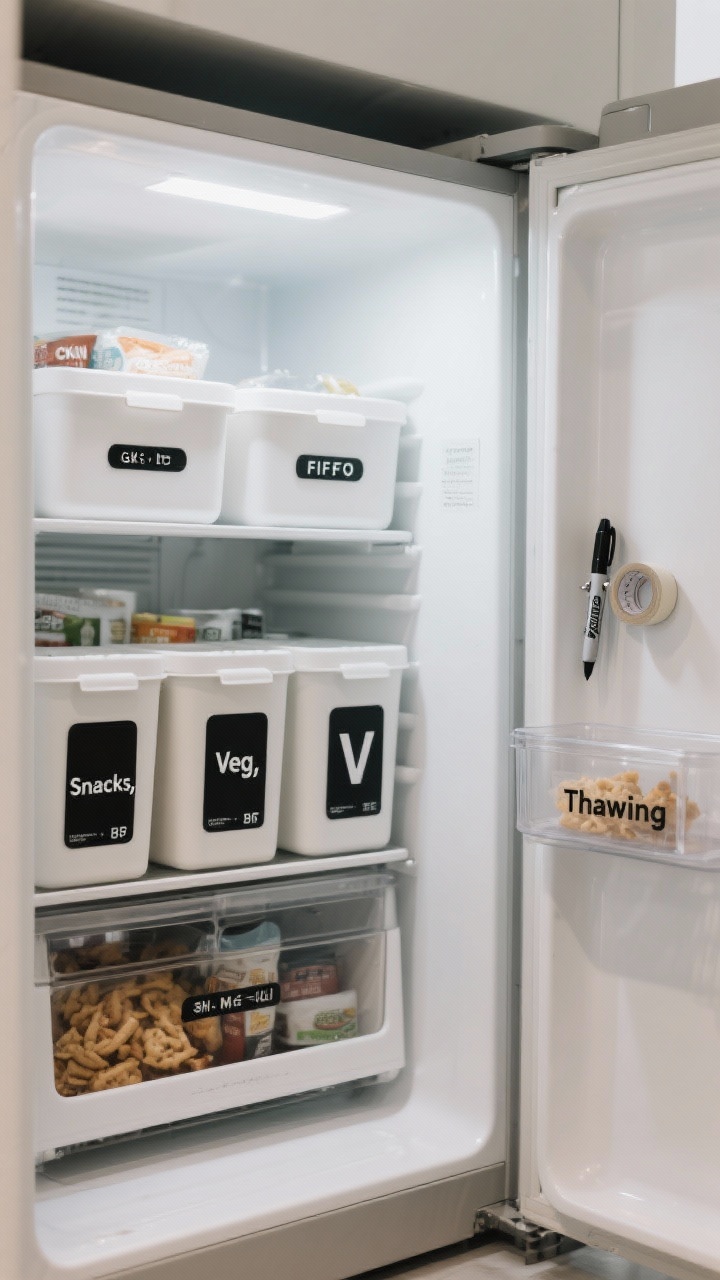
Give each zone a bin or basket. Clear is ideal (instant inventory), but matching opaque bins with labels look cleaner if that’s more your vibe. FYI: Sturdy, straight-sided containers maximize space better than sloped ones.
Pro-Level Labeling
Use bold, waterproof labels with category names (e.g., “Veggies,” “Breakfast,” “Fish”).
On bags/containers, add contents + date. Keep a fine-tip permanent marker in the kitchen for speed.
Try color-coding: blue for seafood, green for veg, red for meat. Your 6 a.m. brain will appreciate it.
3. Pack Like A Tetris Master (Flat Freezing Is Your Secret Weapon)
This is the game-changer. Freeze things flat so they stack like files. It saves space and defrost time, and makes you look wildly competent.
Flat-Freeze Method
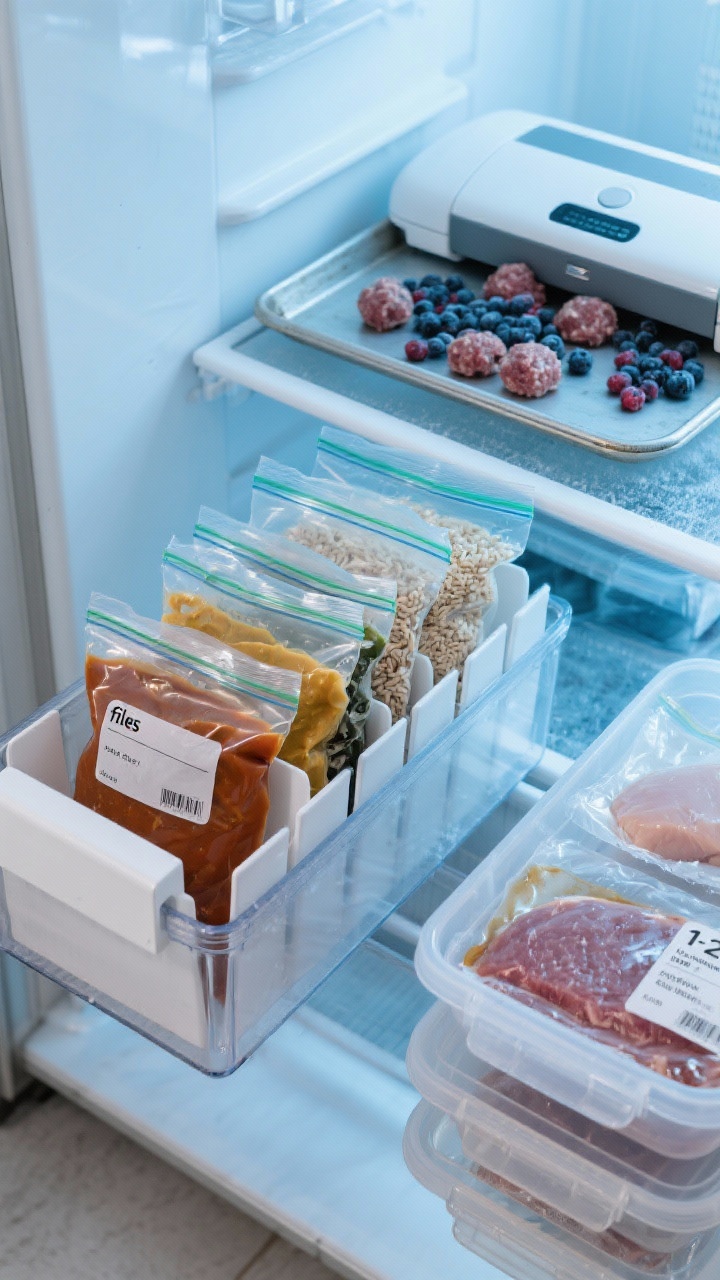
Portion soups, sauces, and cooked grains into zip-top bags. Press flat, squeeze air out, and lay bags on a baking sheet to freeze.
Once solid, file them upright in a bin like a little frozen library. Flip through and grab what you need—zero digging.
Use freezer dividers or magazine holders to keep files upright if you’re fancy.
Small Items, Big Order
Flash-freeze fruit, veggies, and meatballs on a sheet pan first, then pour into containers. No clumps = easy scoops.
Portion proteins into meal-ready bags (1–2 chicken breasts, 1 lb ground beef). Label with marinade if you added one.
Use vacuum sealers or press-the-air-out techniques to prevent freezer burn and save major space.
Container cheat sheet: Rectangles beat circles. Low, wide bins beat tall, skinny bins. Stacking lidded containers should nest when empty—future you will scream with joy.
4. Make It Self-Maintaining (So You Don’t Backslide)
Organization that needs daily heroics won’t last. Build in lazy-proof systems so it practically runs itself. IMO, this is where the magic happens.
Set Simple Rules
First In, First Out (FIFO): New food goes in the back, older food comes to the front. Rotate as you unpack groceries.
Cap your categories: If the “Snacks” bin is full, something has to go before new treats go in. Boundaries = order.
One in, one out for duplicates (pizza nights don’t need six frozen pies… unless it’s that kind of week).
Monthly Five-Minute Reset
Glance at each bin, toss anything sketchy, and wipe spills.
Update your freezer list (more on that next). It takes less time than brewing coffee.
Set a recurring phone reminder. You’ll forget. We all do.
Labeling That Sticks (Literally)
Use freezer-safe tape or dissolvable labels for containers and jars.
Keep a Sharpie + tape on a magnetic holder on the fridge side. No excuses not to label.
Standardize abbreviations: “CKN,” “GB,” “BF,” “V” for vegetarian—whatever works, just be consistent.
Keep a “Freezer Favorites” list for go-to meals: taco meat, smoothie packs, lasagna squares. Batch-cook and restock monthly.
Smart Timeframes (So Nothing Dies In There)
Cooked meals/soups: 2–3 months for best quality.
Poultry/ground meat: 3–4 months; whole cuts can go 6–12 months if sealed well.
Bread/baked goods: 2–3 months. Wrap tightly and double bag.
Fruit/veg: 8–12 months if flash-frozen and sealed properly.
Pair this with your labels and you’ll practically run a frozen boutique out of your kitchen. Cute, efficient, and no more accidental fossilized lasagna.
Little Luxuries That Make It Feel Fancy
LED motion light puck inside for a bright, boutique vibe.
Matching bins and bold labels for a clean, curated look.
Silicone ice cube trays for stocks, pesto, and wine (for cooking… or not). Pop and portion like a pro.
Final thought: your freezer is prime real estate. Treat it like a well-organized pantry that just happens to be very, very cold. Keep the zones tight, the labels bold, and your inner Tetris master on speed dial. You’ve got this.


Leave a comment